Issuer Node UI Guide
Before you actually act as an Issuer and provide credentials, you need to set up a Polygon ID Issuer Node. You can find instructions to get your Issuer Node up and running here.
Schemas
To create a credential, you require a schema that contains its JSON vocabulary semantics and links to the JSON-LD Context and JSON URL.
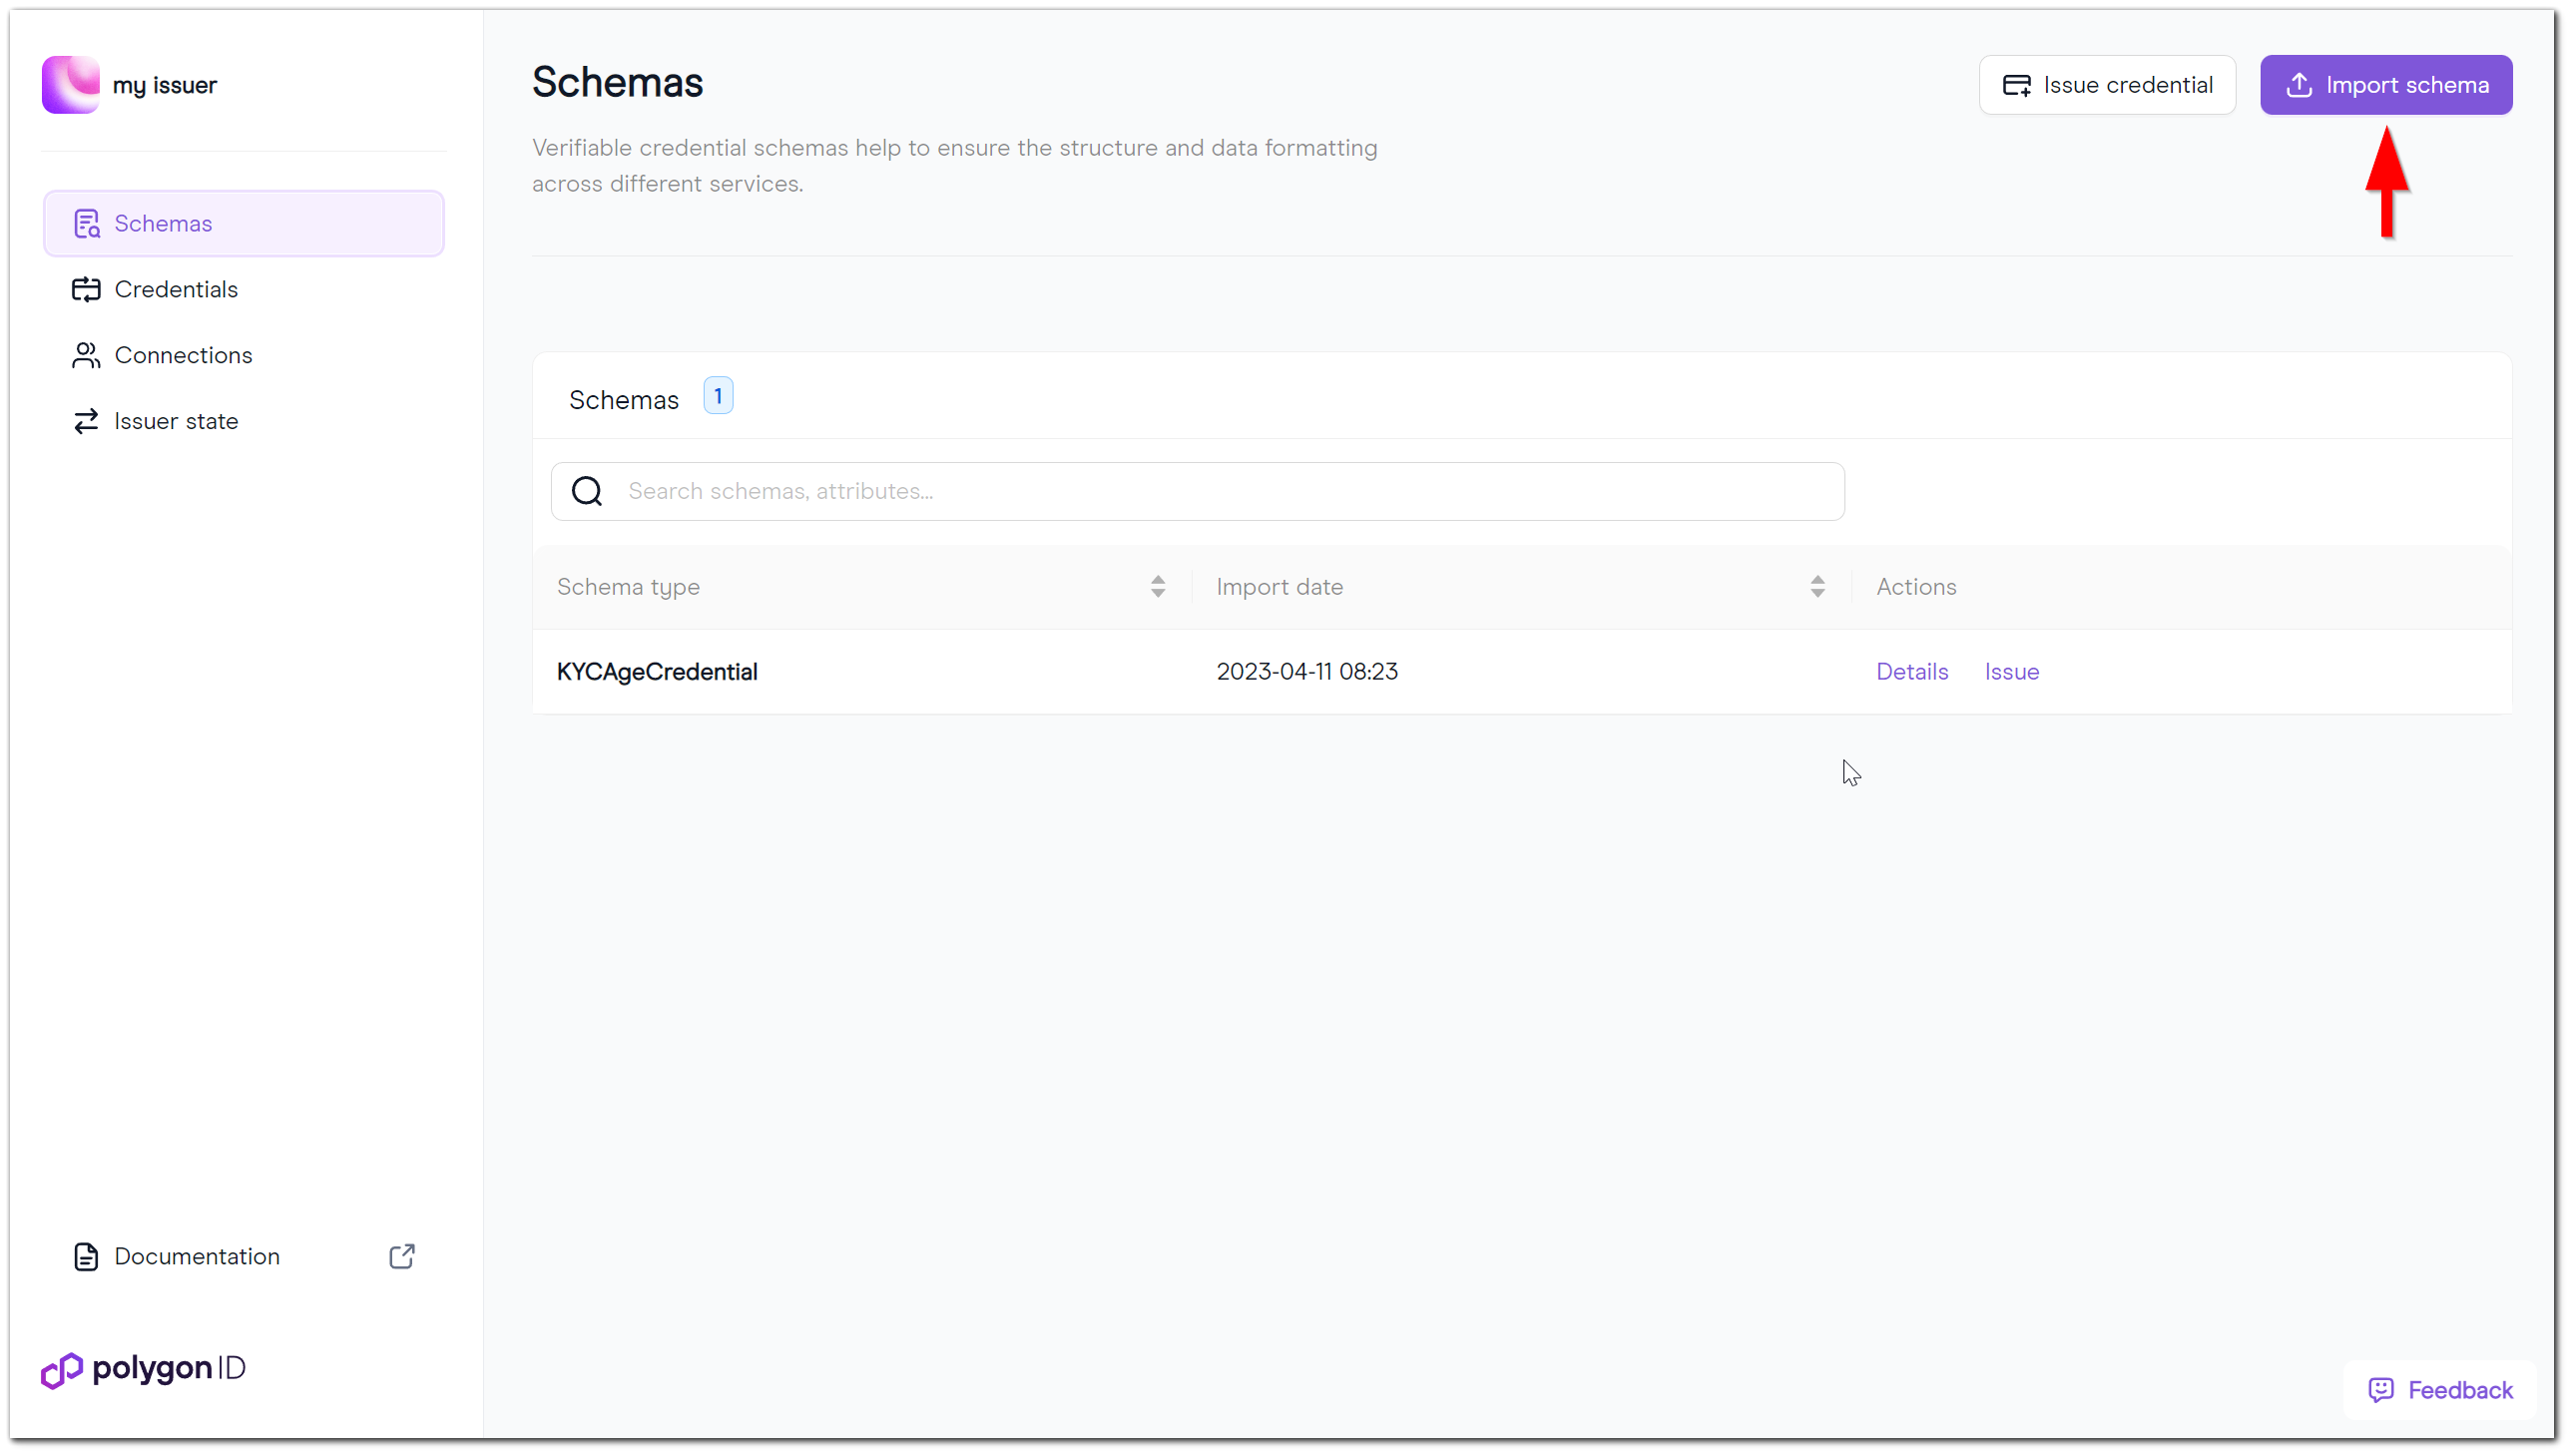
You can create your own schemas and import them to the Issuer Node. Here's how you can do that:
- Click on Import Schema:
- Then you provide the schema URL:
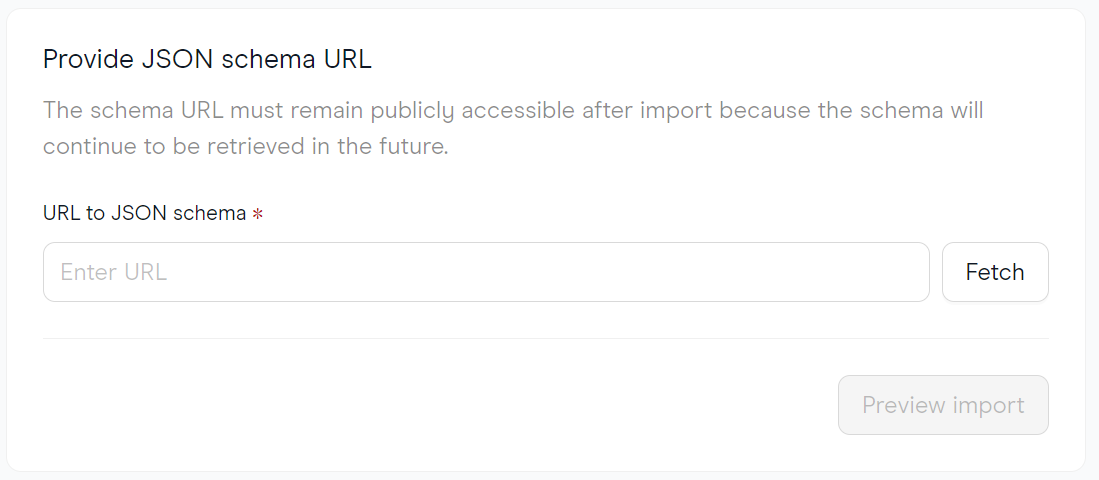
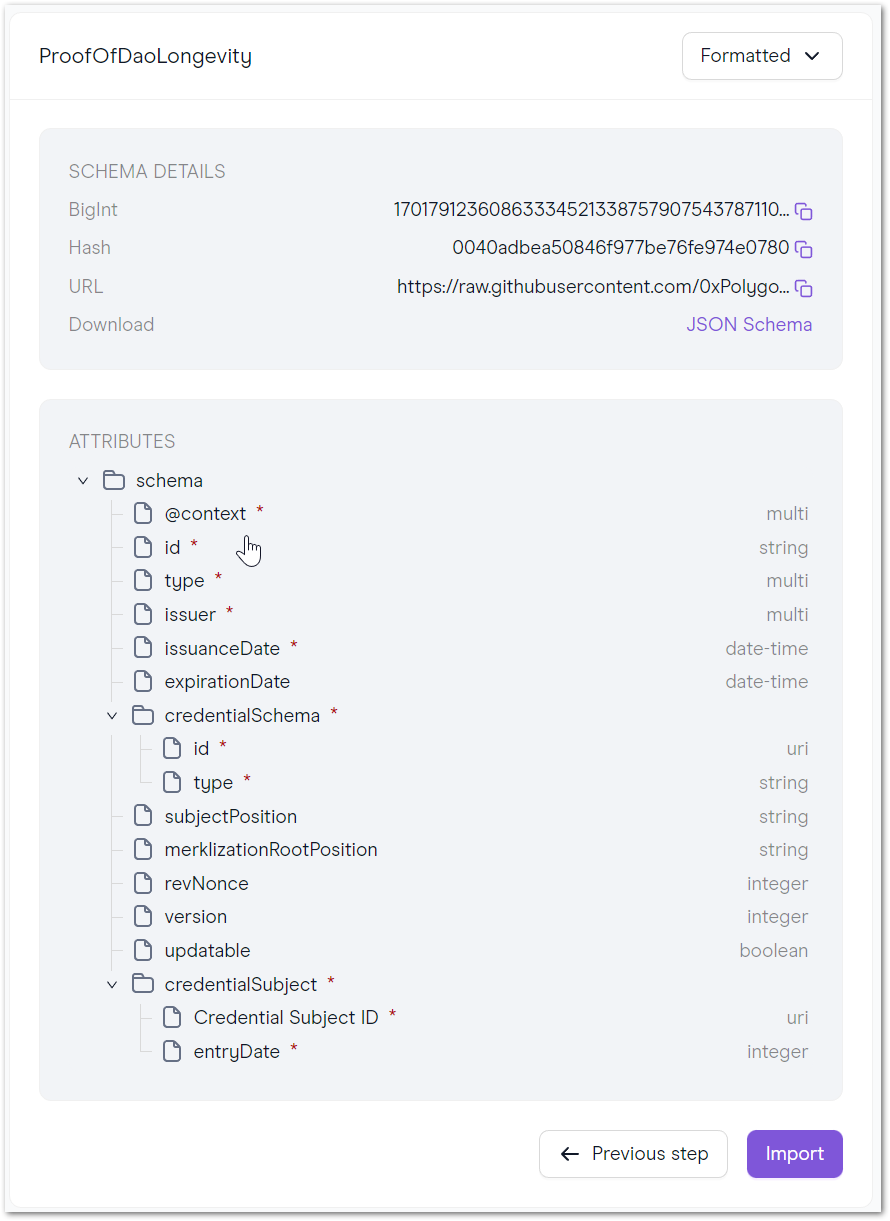
- After you pasted the schema URL, you can click on Preview import.
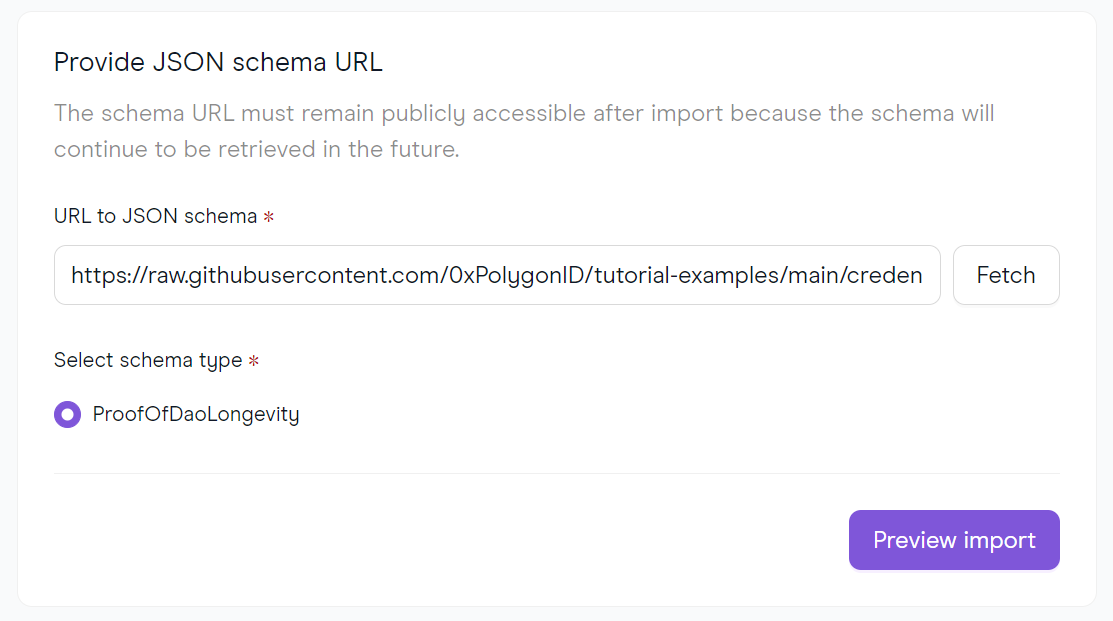
- The preview will show the details of the schema. You can also choose to see the attributes in a formatted way, as a JSON LD context or the JSON schema itself.
- Your new schema will be instantly added to your schema list.

Credentials
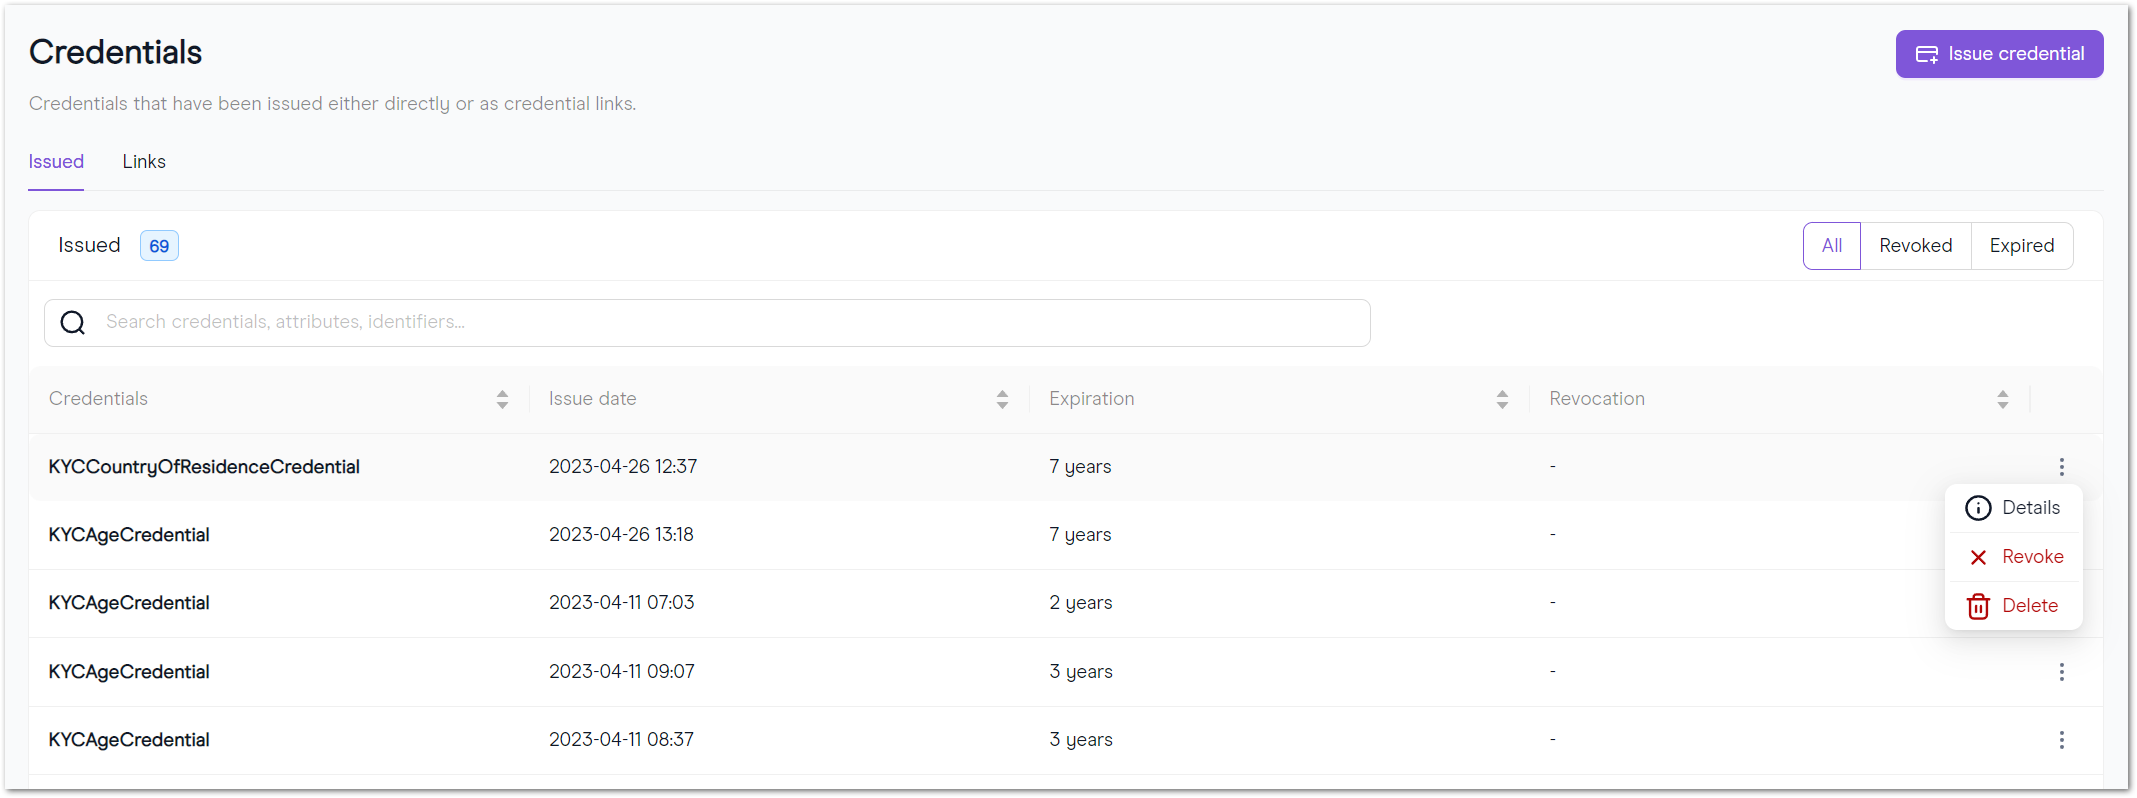
The Credentials main page shows information about all the credentials that have been granted. Each of one those credentials can be revoked by clicking on the 3 dots at the end of the row.
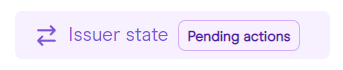
Whenever an Issuer decides to revoke a credential, they have to publish the issuer state to the blockchain. This can be done on the Issuer state. Notice that there will be a Pending actions right next to the sidebar button.
The main responsibility of an Issuer is to create and provide credentials to ID holders. Here is how you can do it:
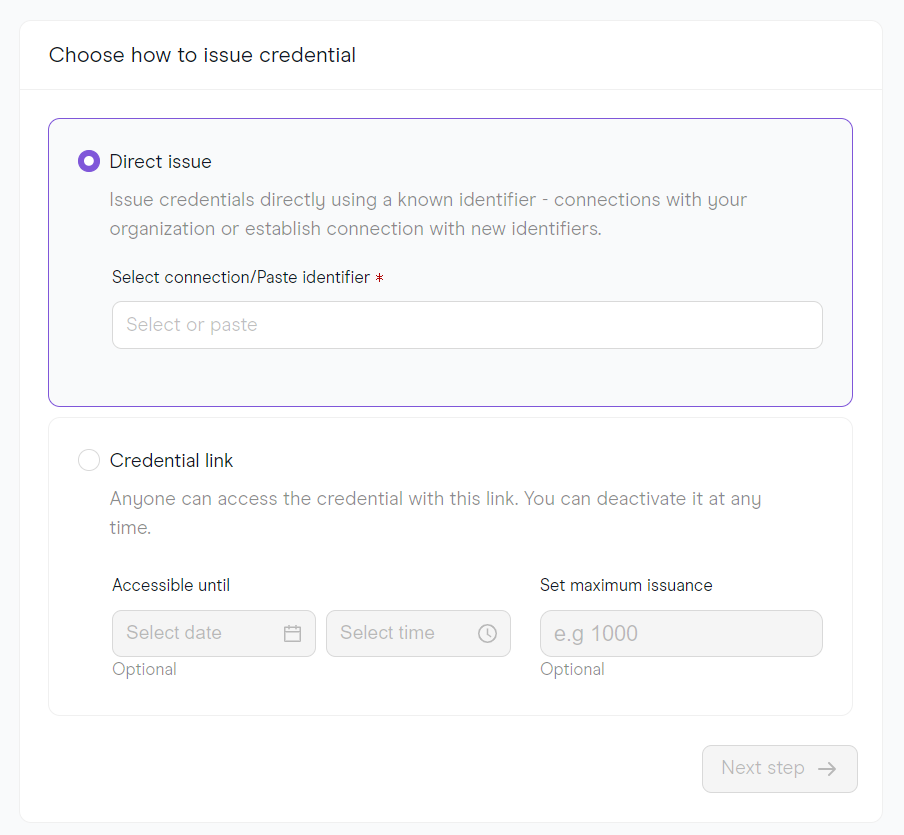
Direct Issuance
If you already have a connection with an identifier or you have its DID, you can issue a credential directly to it.
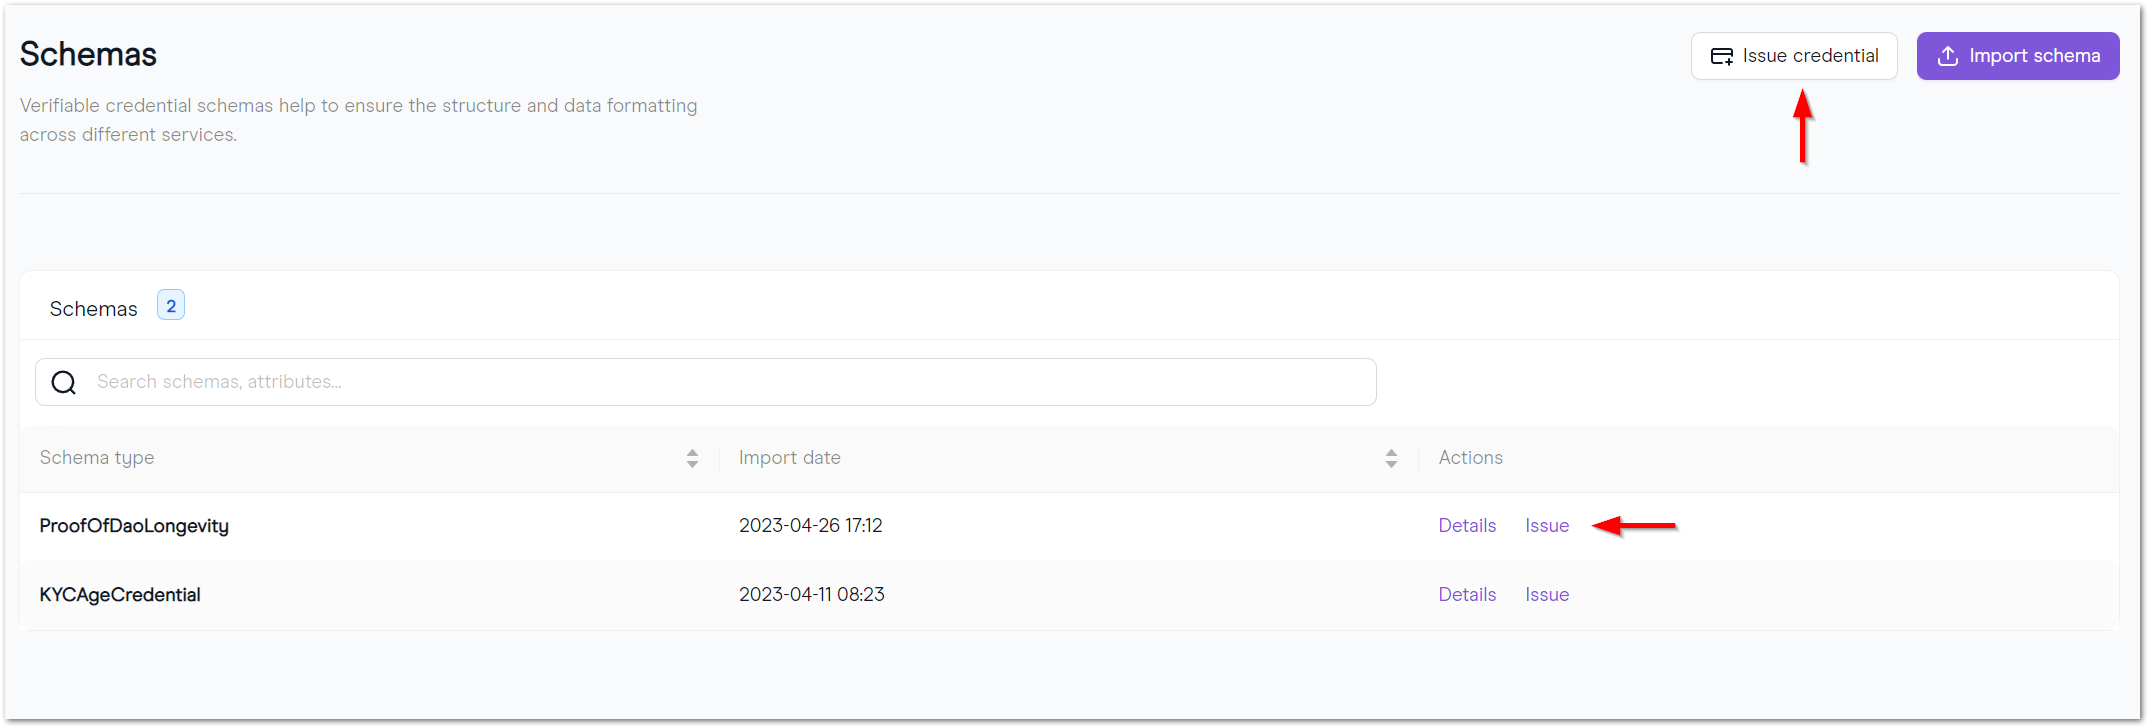
- You can start by clicking on the Issue credential button or choosing the Issue action next to one of your Schema types.
- Either paste an identifier DID or select one from the list:
Now you will be prompted to choose which Schema Type you would like to create your credential with.

The credential we are trying to issue in this tutorial has one mandatory field: the entryDate. That would represent the day when the person would have joined the DAO.
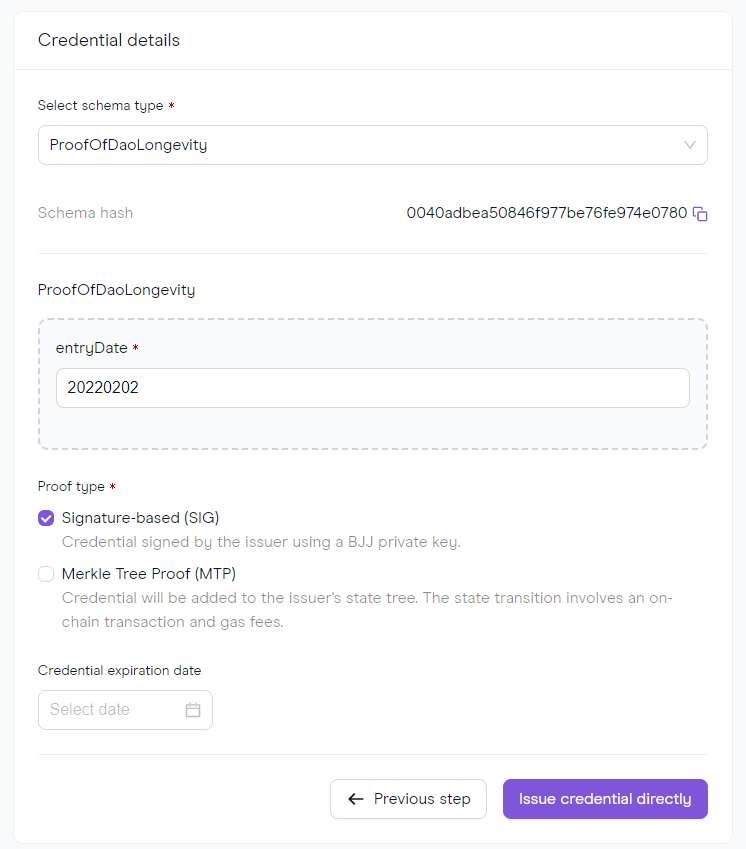
- Click on Issue credential directly and the credential is sent to the Holder.
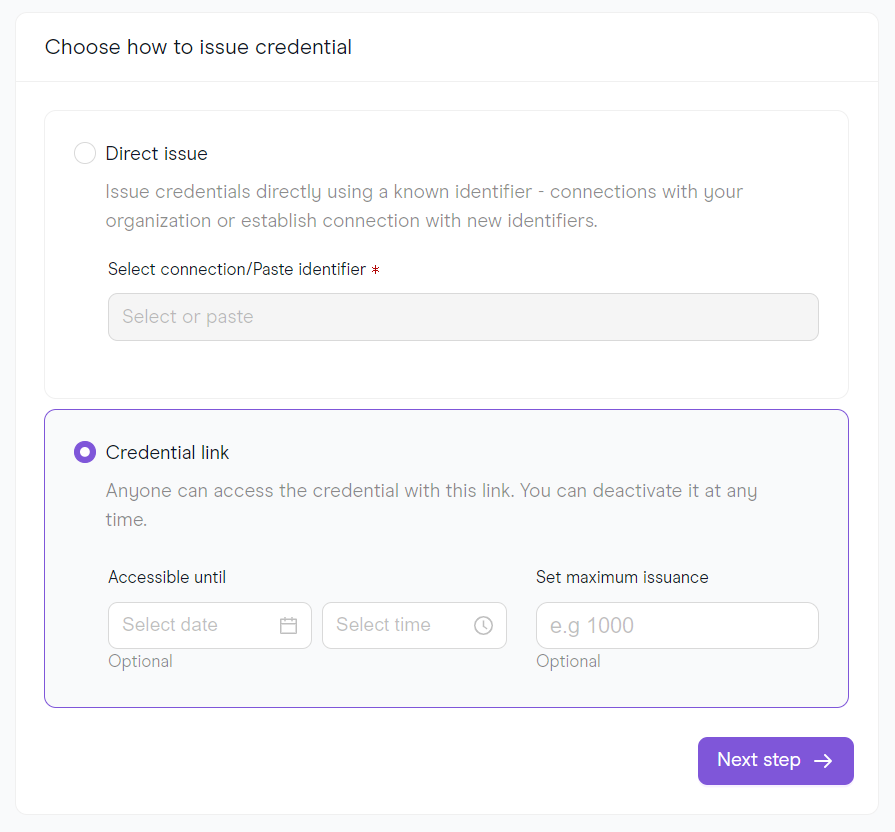
Generating a Credential link
- You can start by clicking on the Issue credential button or choosing the Issue action next to one of your Schema types.
- There are some available options for this credential: an expiring date and a maximum number of issuances.
If you clicked on the Issue credential button, you will later be prompted to choose which Schema Type you would like to create your credential with.
- The credential we are trying to issue in this tutorial has one mandatory field: the entryDate. That would represent the day when the person would have joined the DAO.
- After you click on Create credential link, you will have access to the credential link:
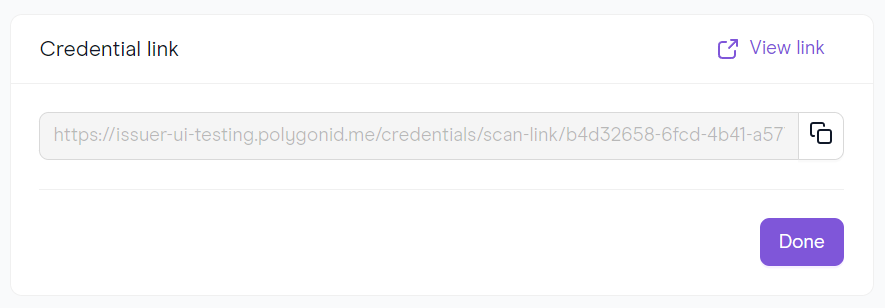
- You can also generate a QR code embedding that previous link, by clicking on View link:
There are 3 QR code options available: Link, Raw JSON and Base64 encoded. The preferred option is link because it is the most compact and the easiest to scan. It contains a link to download the original raw content of the QR code. Raw and Base64 encoded formats are useful for cautious users who prefer not to follow that redirection or for wallets that do not yet support Link mode.
The holder will just have to log into his Polygon ID wallet, tap Connect, scan the QR code and choose Connect Wallet. After authentication, the holder finally receives their credential.
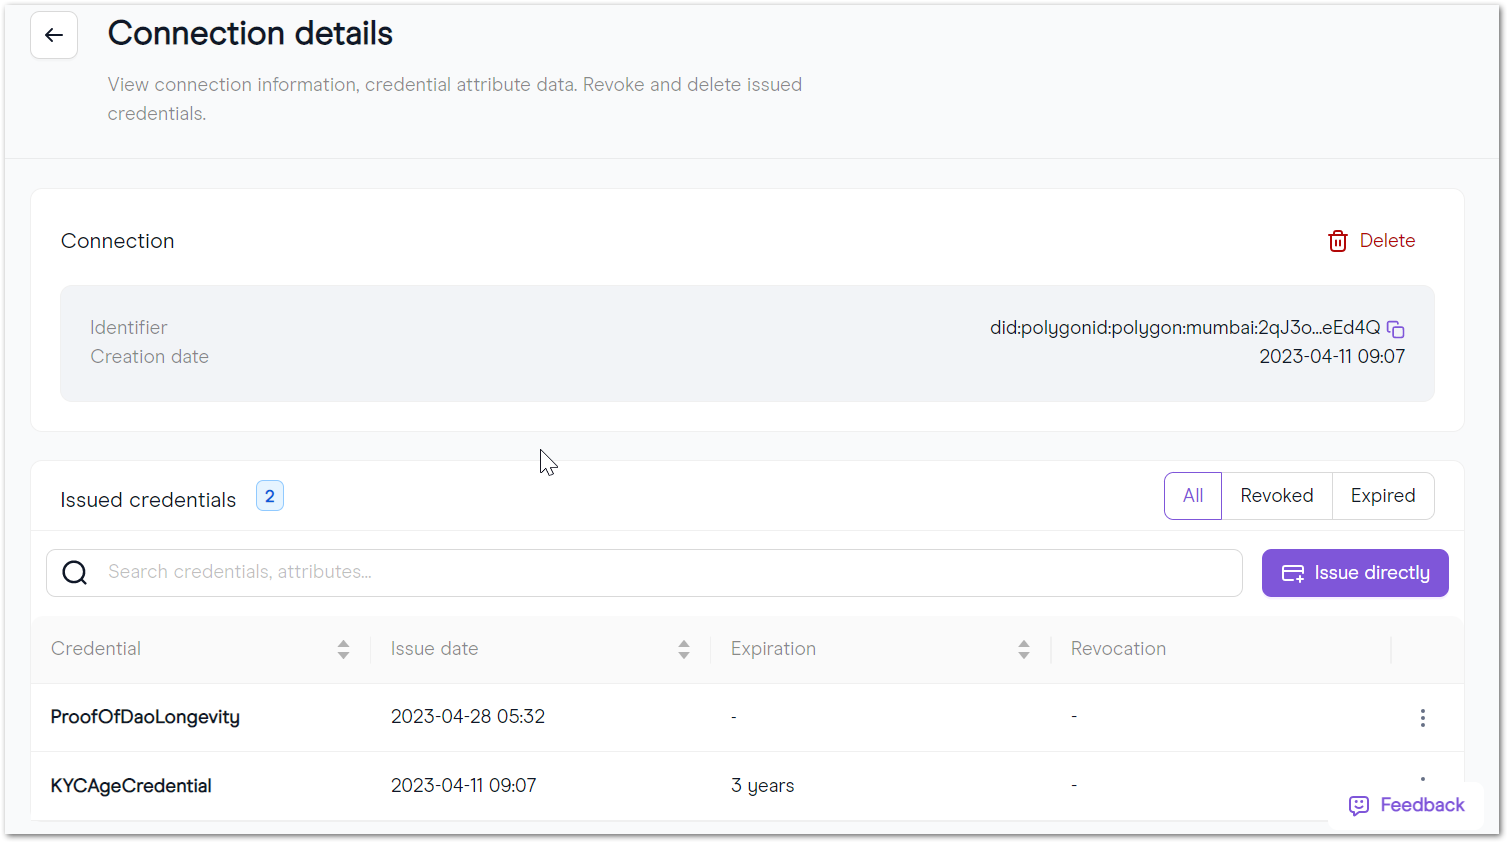
Connections
This area of the Issuer Node UI shows all the current connections with ID Holders as well as the credentials issued to them.
You can also check the details about each of those connections, issue credentials directly or remove them by clicking on the 3 dots next to each connection.
The Details page shows some useful information, such as identifier(DID), creation date and issued credentials. Some other available actions are direct issuance, credential revocation and removal.